Why You Should Learn How To Make A fire
In this modern world chances are you get by just fine without the knowledge of making a fire. With the invention of microwaves, ovens, and stove tops chances are the thought of cooking over a fire has never crossed your mind. We have become completely dependent on electricity. I heard a stat the other day that if our grid would go down 90% of the North American population would die within a year because they would not be able to feed themselves. Who would have thought that it’s food that sustains us and not social media?
Most people have never had the chance to make a fire, whether it be outside or in a fireplace. I’m convinced that if you gave most people everything they need to start a fire they still wouldn’t be able. I’m not talking about starting a fire with a ferro rod and flint, although it’s a cool skill to learn and always a crowd-pleaser, I’m talking lighter, paper, and wood. For the real novice, you could buy fire starter kits that make fire-starting dummy-proof. With everything at your disposal and most of it delivered right to your door, there’s no reason you can’t learn this life-saving skill.
Here are the 3 most common ways to make a fire
The Fire Pit
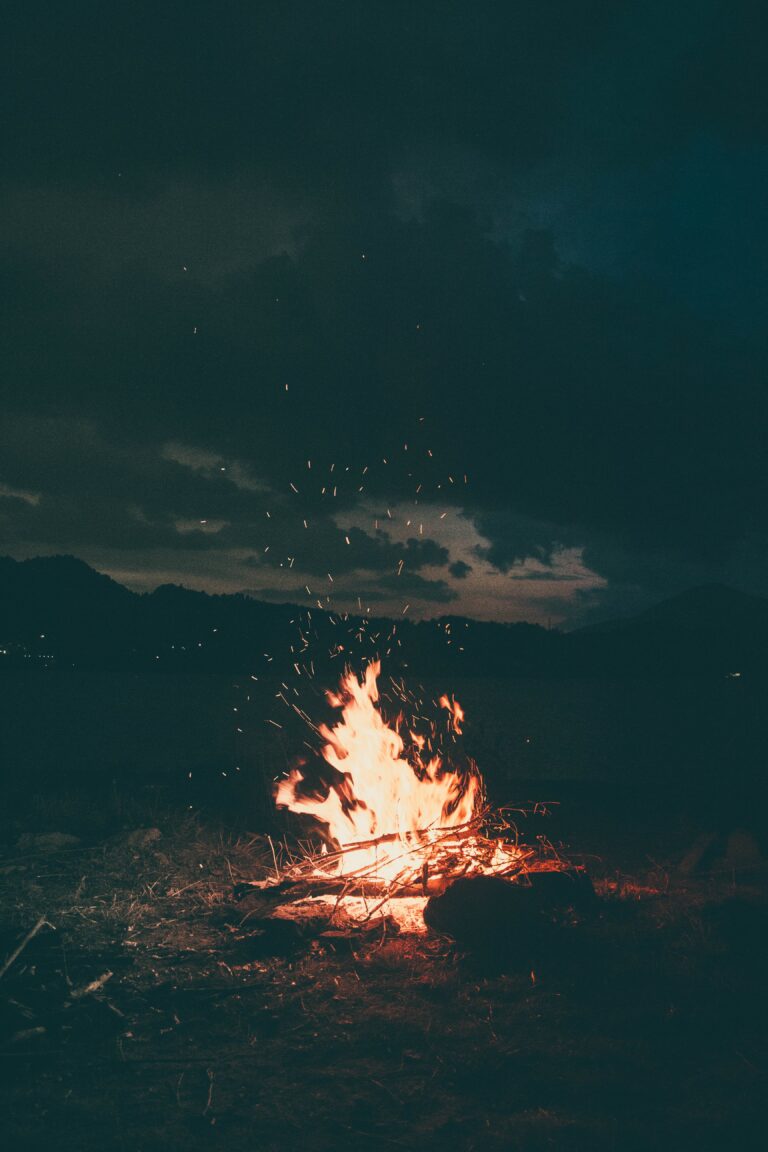
Also known as a camp fire this is probably going to be your first introduction to firemaking and the easiest. There are probably 100 ways of making a fire outdoors but this one is my favorite. This is a foolproof way of starting a fire even if Mother Nature is not cooperating. A few gusts of wind, a drizzle of rain, or damp wood could make fire-starting a nightmare. For your first time make sure the weather is ideal. But if it isn’t this setup will put the odds in your favor.
The setup:
Your setup is everything. How you place your wood, paper, etc could make or break your fire so it’s worth taking the time to do it right. You will need different sizes of pieces of wood from large, medium, and small. To start things off you’ll want to use more medium and small pieces. A good rule to follow is medium pieces are the size of your arm and smaller pieces are about the size of your fingers. Make sure all your wood is set up right beside you and ready to go. Now that you have your lighter, preferably a BBQ lighter, paper and/or fire starter, and wood you’re ready to start.
- I first like to place a couple of logs at the bottom to create a bass. This helps when the ground is a bit damp, especially in the morning.
- Then grab 4 medium size pieces.
- Put 2 pieces parallel to one another.
- Then in the opposite direction put the other 2 pieces on top of the first one forming a square as if you’re building a little log house with no roof.
- Fill the hole with paper that you’ve rolled in big balls about the size of a baseball. There is no such thing as too much paper.
This is where you could add a fire starter with the paper or if you’re in my neck of the woods, Quebec Canada, grab a bunch of birch bark instead of paper. - Now cover the top of your mini log house with small pieces of wood.
- Before setting the whole thing on fire, take 4 big logs and carefully rest them on each side of the square. Ideally the 4 logs are touching at the top of your square.
- Now grab your BBQ lighter and light the paper on all sides of the square. If you do not have a BBQ lighter just grab any long twig and light the end.
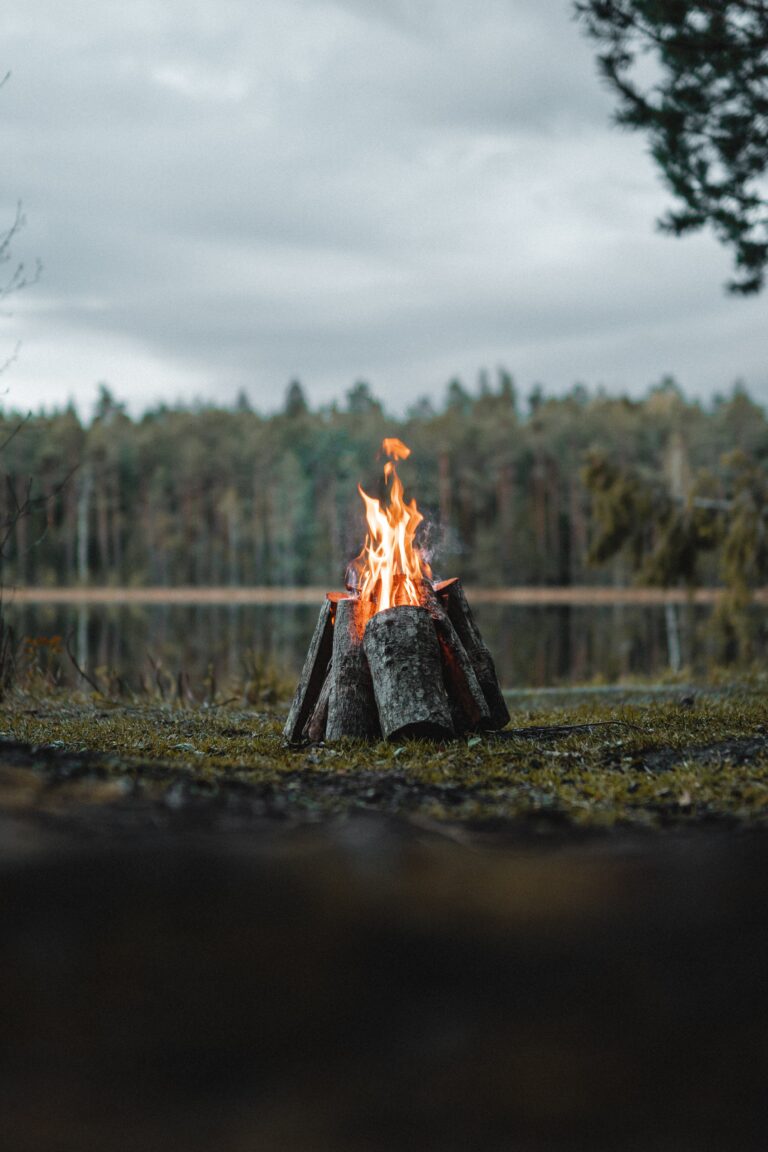
And there you go. Get the marshmallows ready and everything else you’ll need to make some Smores. If you don’t know what a Smore is, please click the link and your life will never be the same.
The Fire Place
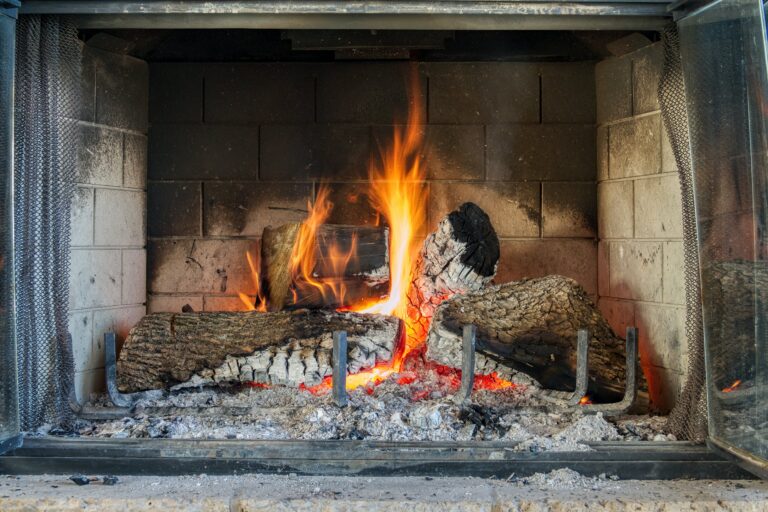
The classic fireplace. I have to say, I don’t have a lot of experience with this kind of fireplace and it’s the one I like the least. For me, a fire must be more than something you look at. It’s a food source or a heat source. Your classic fireplace is none of those things. It’s a beautiful addition to a house but I think you’re better off getting one of those electric fireplaces. It’s cheaper to install and you have 100s of models and sizes to choose from. Also, most of them have integrated fans so it produces more heat than a conventional fireplace. The only disadvantage of the electric fireplace place is it won’t work when the power is out.
All that being said, a friend of mine was staying at an Airbnb during the holidays and it had a conventional fireplace. He could not get it started even with fire starters. That’s actually what me the idea to wright this post.
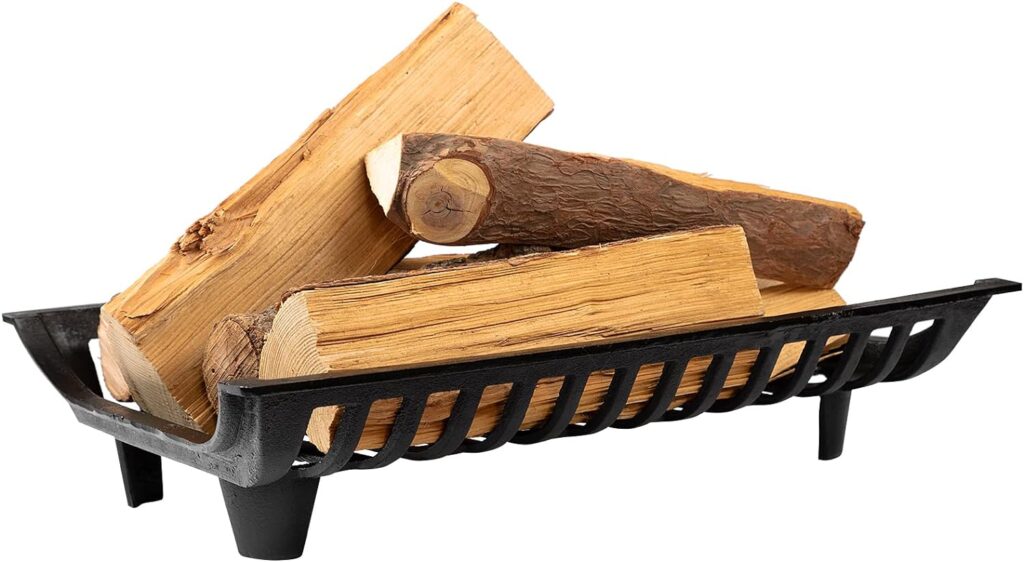
Most fireplaces should have a grate, which allows for better airflow. I did not mention this when setting up your fire pit but airflow is everything. If your fire can’t breathe, it can’t live.
- This is why the first thing you want to do is make sure the vent is open. There will be a lever somewhere on the fireplace that you can move from side to side. Every fireplace is different.
- You are going to want to roll up paper the size of a baseball and put them under and around your grate.
- Stick some fire starters within the paper.
- Then put small pieces of wood parallel to the grate.
- Next, put medium-sized wood pieces along the grate forming a T.
- Now you could put your log on top.
- Light your paper all around the grate and you’re good to go.
Once it gets going and you have a good amount of embers, you just need to put a log on top of the grate and the fire will take care of itself. You do want to make sure the embers stay compact so just make sure they don’t spread out too much.
The Wood-Burning Stove
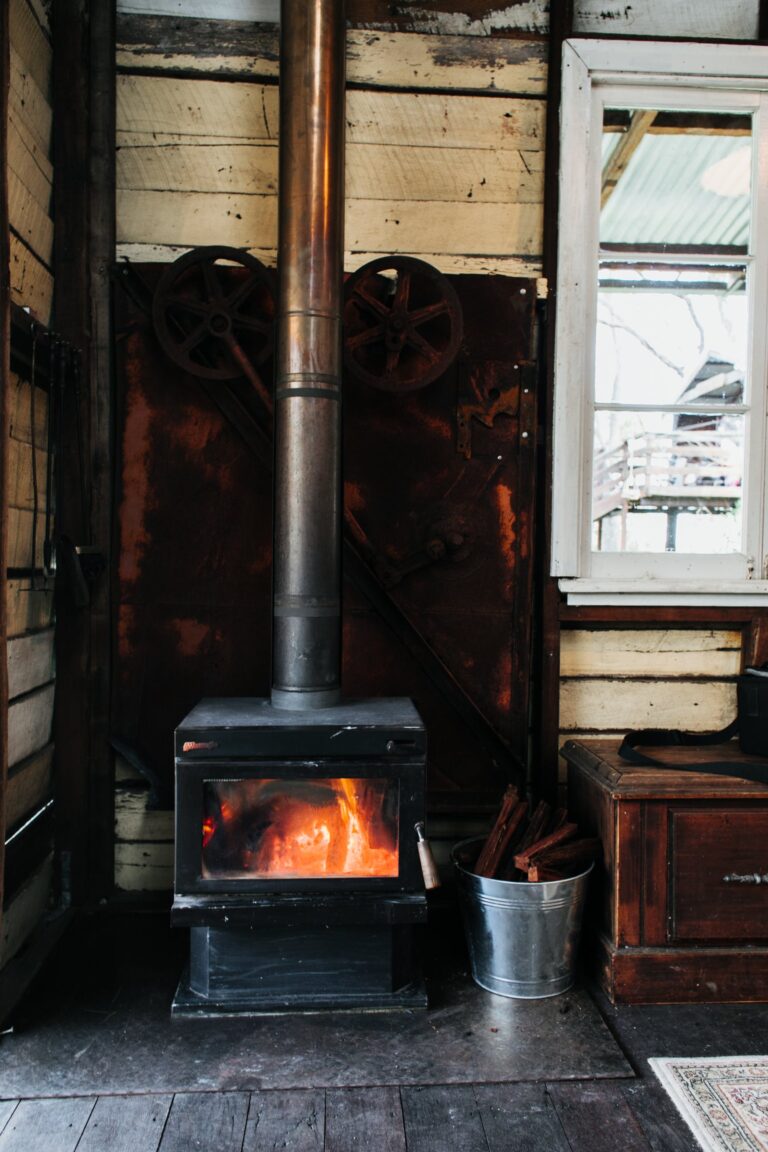
Now this is my favourite method of making a fire. Unlike the the traditional fireplace, the wood-burning stove can not only heat an entire house, but you can use it to cook also. If there is an appliance that you could install in your house that helps get one step closer to self-reliance, the wood stove is it. Are there any downsides? There is one, but it has nothing to do with the stove itself. Cities across Canada keep putting restrictions on these tips of stoves. If you are building a new home you are downright prohibited from having one. Why would cities start banning such an efficient way to heat your house and saves you hundreds of dollars on your heating bill? Global warming of course. But let us not go down that rabbit hole. For now, they are still around and an awesome addition to any home. So let’s get right into it.
The set-up:
I’ll say it again, your setup is everything. Where your outdoor set-up is the most forgiving, the wood-burning stove doesn’t leave much room for error. It won’t set your house on fire, but if done incorrectly, your house will look like Snoop Dogg came to visit, and it’s not the kind of smoke you want to be inhaling. The only solution when that happens in open as many windows as you can to let the smoke out. As you can imagine, opening the windows in the dead of winter is counter-intuitive especially when you are about to do the exact opposite, heat your home, not cool it down.
There are several reasons why this could happen but if you follow the steps correctly you should not run into this problem.
Step one: open the vent and check the airflow. If it’s your first fire of the season or you haven’t made a fire in a couple of days, chances are air is coming down your chimney. If you try and make a fire right away the cold air coming down the chimney will push the smoke back into the house and you will be rushing to the fire alarms and opening windows. Instead, open the wood stove door an hour or so before you make the fire. This will give time for the warm air in the house to push up the chimney. You will know it’s safe when you don’t feel cold air anymore.
Now let’s get to the fun stuff.
- Start by putting a log in the back of the wood-burning stove.
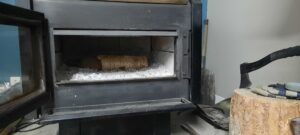
- Now let’s make some more paper baseballs and place them in front of the log.
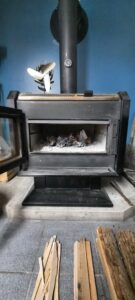
- Next place small pieces of wood (starter wood) on top of the paper and the log, forming a lean-to.
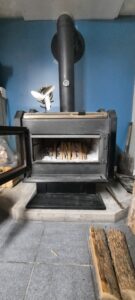
- Then put one or two smaller logs, on top of the small pieces of wood, parallel to the first log in the back of the wood stove.
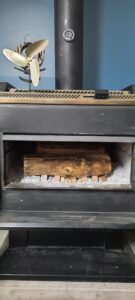
- With a BBQ lighter, light a ball of paper to the right and the left of your logs.
- Close the door halfway and give the fire time to catch.
- When you see the fire is blazing nicely, you could close the door completely.
Once all the small wood has turned to red hot coals and the logs are about halfway burnt, you can now close the vent completely. This will diminish the flame and produce more heat in the house. If for any reason you see the fire struggling you could open the vent slightly to give more oxygen to your fire.
A must-have accessory for a wood-burning stove is a Wood-Stove Fan. Not only does it help to disperse the heat around the room, it’s a good indication that it’s time to close the vent. It’s pretty cool to see it start turning on its own also.
So there you have it, while the modern world offers numerous conveniences that render the skill of making fire seemingly obsolete, its importance for survival remains constant. The ability to create fire is not just a nostalgic or recreational skill; it’s a fundamental aspect of self-reliance and preparedness. As evidenced by the potential vulnerability of our modern infrastructure, such as the electrical grid, being able to generate heat and cook food in the absence of electricity can be crucial in emergency situations.
The three common methods outlined – the firepit, fireplace, and wood-burning stove – each offer unique advantages and challenges. Whether it’s the simplicity of a firepit, the ambiance of a fireplace, or the practicality of a wood-burning stove, mastering the art of fire-making is a valuable skill set for anyone.
Moreover, beyond its practical applications, the ability to make fire fosters a deeper connection to nature and a sense of self-sufficiency. In an era where convenience often trumps resilience, reclaiming this ancient skill is not just about survival; it’s about reclaiming a piece of our human heritage and ensuring our ability to thrive in any circumstance.
In essence, while we may live in a world of technological marvels, the humble ability to make fire remains an essential cornerstone of human survival, resilience, and self-reliance.

